
Enabling Google Autocomplete for Standard & Custom Addresses within Salesforce Flow
Did you know Salesforce provides the ability to utilize Google Address completion features within Salesforce without writing a callout to their API? Pretty cool! You might have seen this on your org on record detail pages, but did you know you could also use this functionality in a Flow? This allows you to create no-code Address forms to allow fewer typos, improve user experience, and raise address reliability. There are a few steps to get this stood up in your org.
Step 1: Enable Maps and Location Services
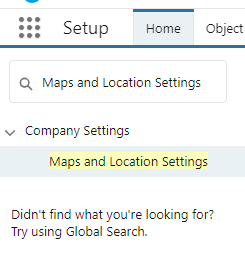
To enable Maps and Location Services, type Maps and Location Settings in the Quick Find search in Setup
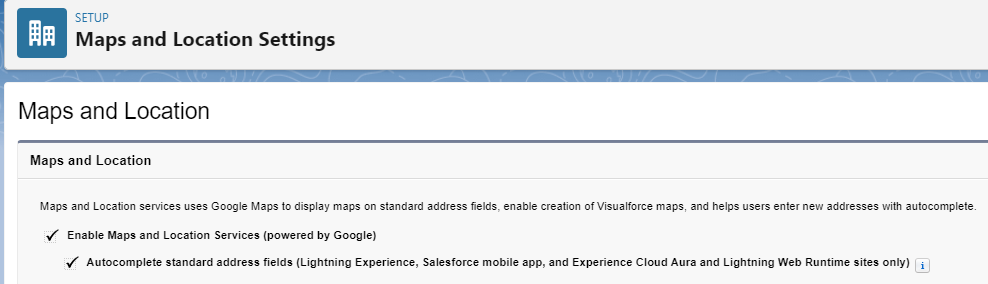
Then, enable the following two settings
- Enable Maps and Location Services (powered by Google)
- Autocomplete standard address fields (Lightning Experience, Salesforce mobile app, and Experience Cloud Aura and Lightning Web Runtime sites only)
Step 2: Create a Screen Flow
Create a Screen Flow and Create an empty screen. We are now ready to add the Address completion feature.
Step 3: Add a Standard Address field
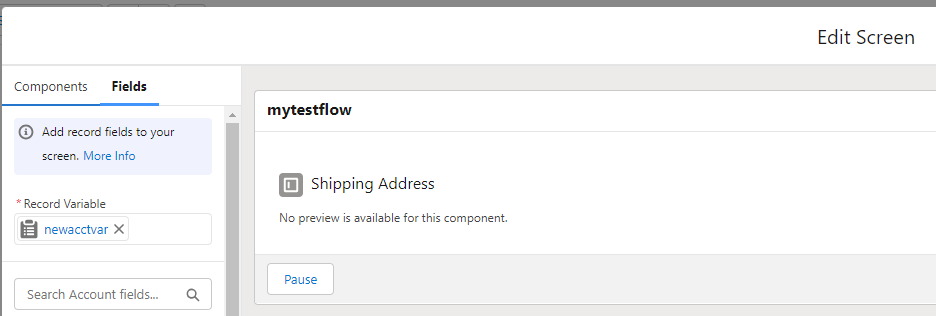
First, go to the 'fields' tab in your flow
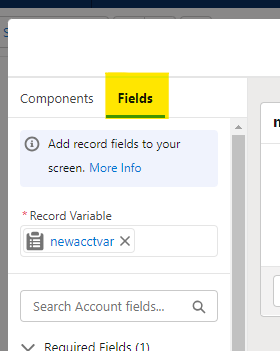
Add a new Record Variable that contains a standard address (such as Account).
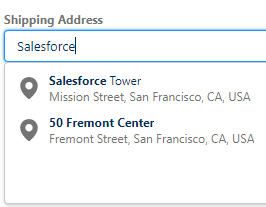
Drag a standard address field onto the screen (such as shipping address).
Save, and enjoy. You now have full Google Autocomplete features within a Salesforce Flow. You can use this anywhere you use flows, including LEX pages and Digital Experiences!